3D Scanning with Autodesk RECAP
Photo Shoot Setup:
Autodesk Remake is the predecessor to RECAP but the technique for taking pictures is the same.
Index:
Moving camera.
Flying Camera:
Turntable:
Moving the object:
Generating the 3D model in RECAP Photo:
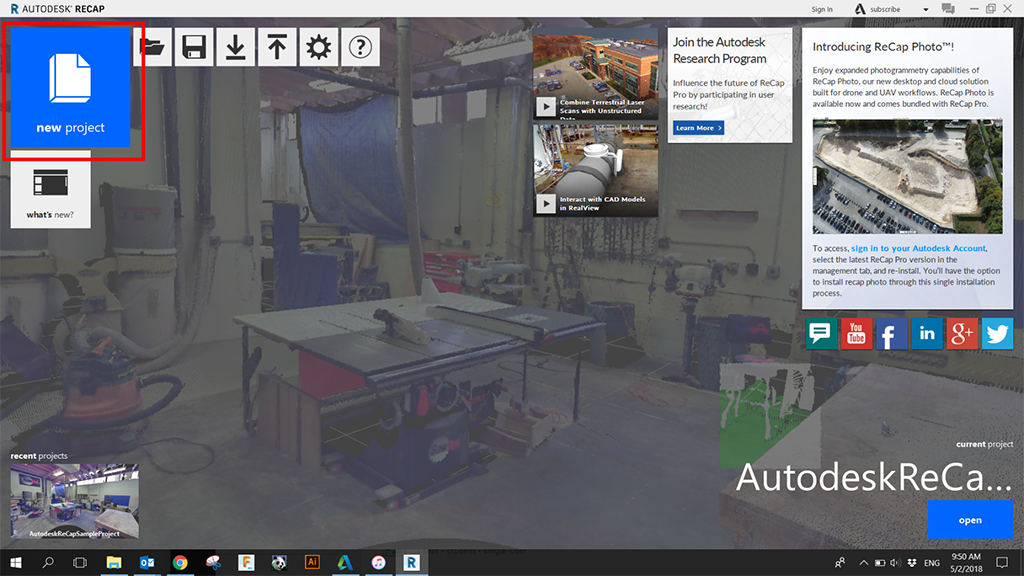
Open Autodesk ReCap -> New Project.
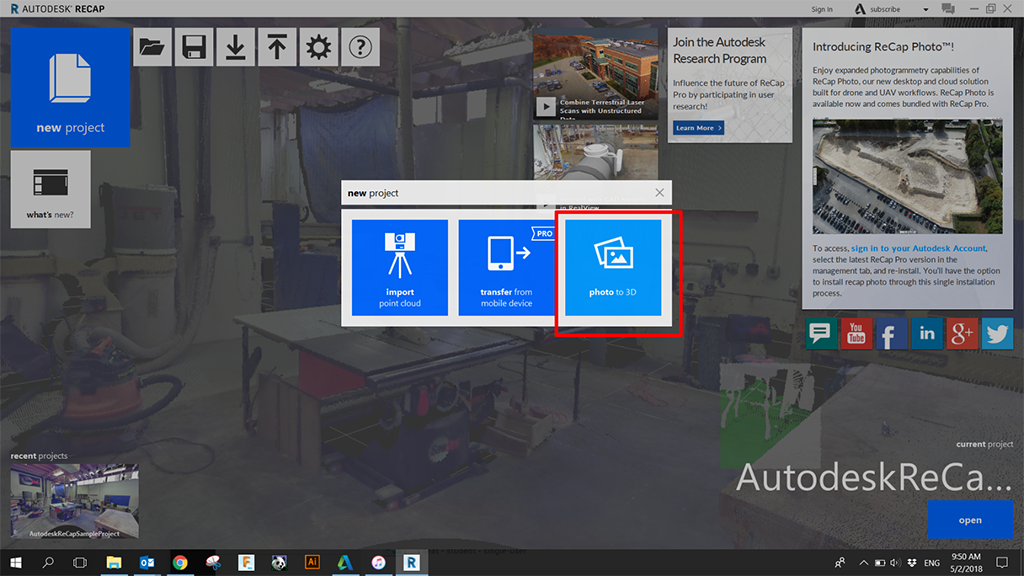
Select Photo to 3D
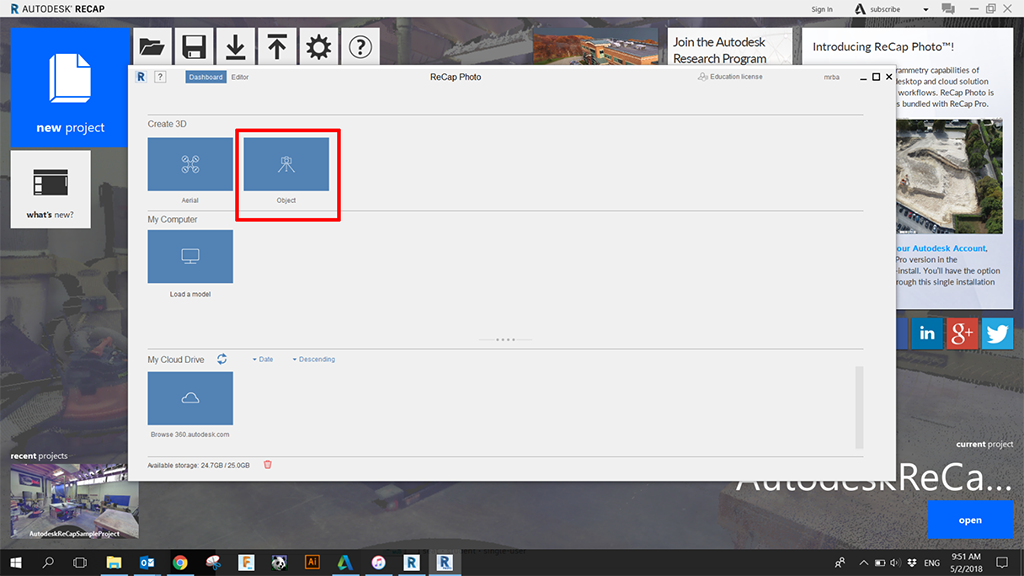
Select Object.
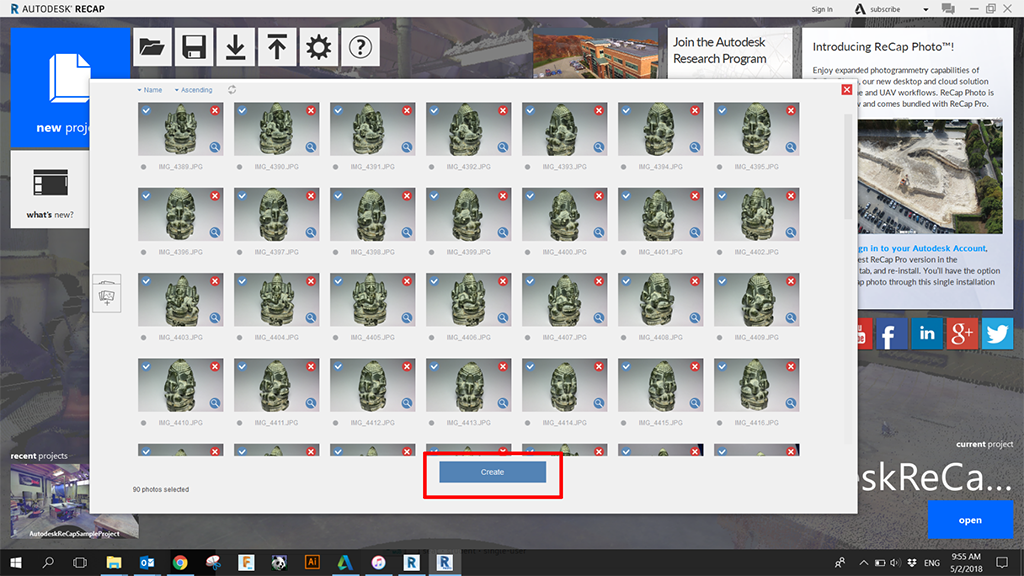
Select the folder you saved your images in
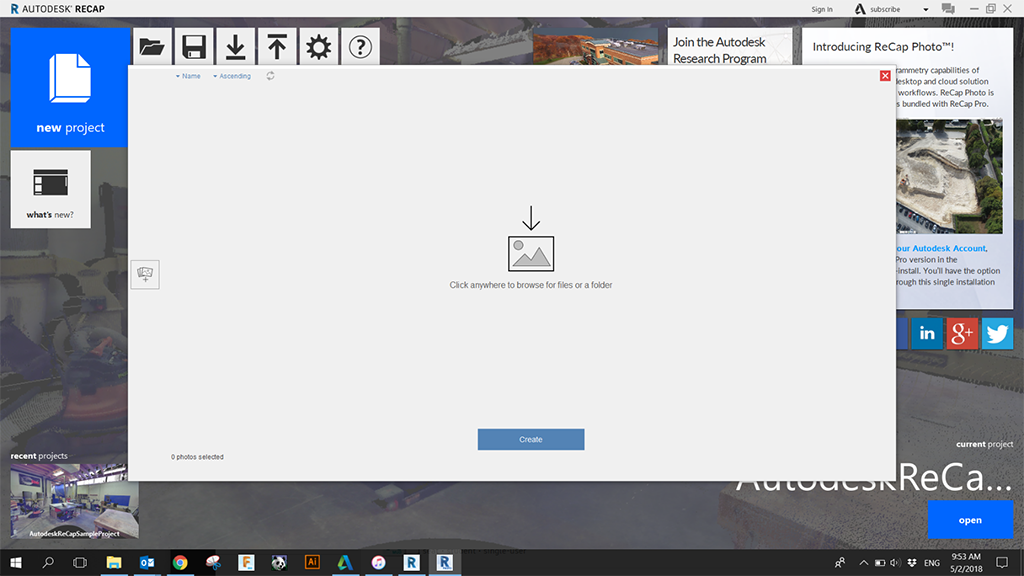
Click Create.
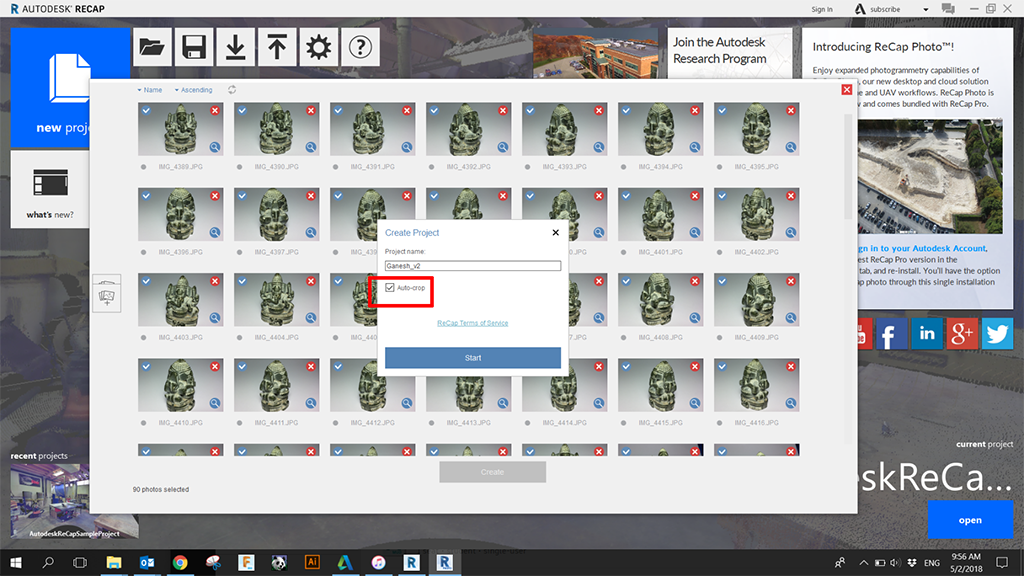
Select Auto crop and name your file.
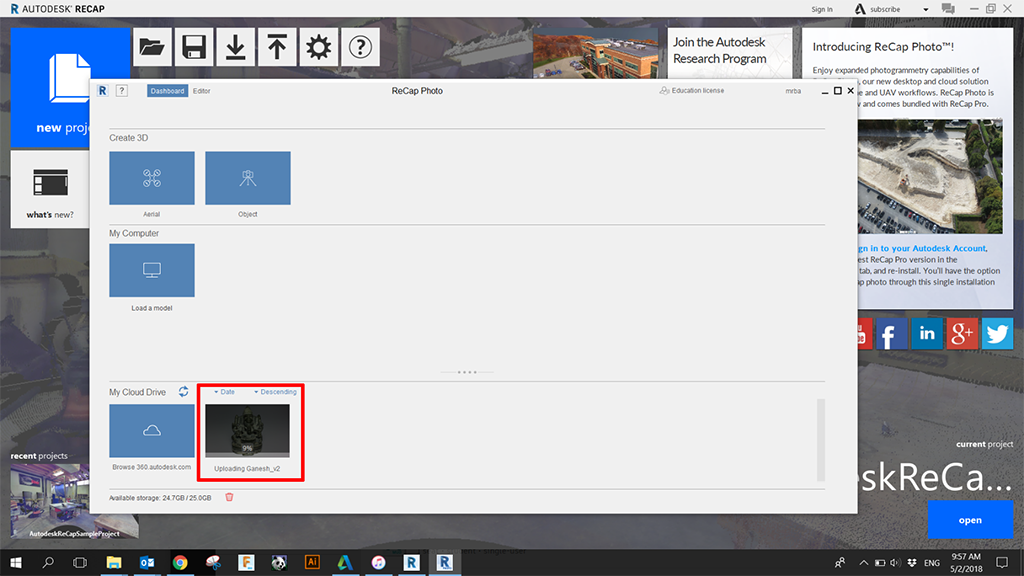
Files will now be uploaded and the mesh generation begins. This will take a while, depending on the que but expect half a day.
Let the waiting game begin!
Download your file:
Click on the arrow to download all file created for the scan (mesh files + textures)
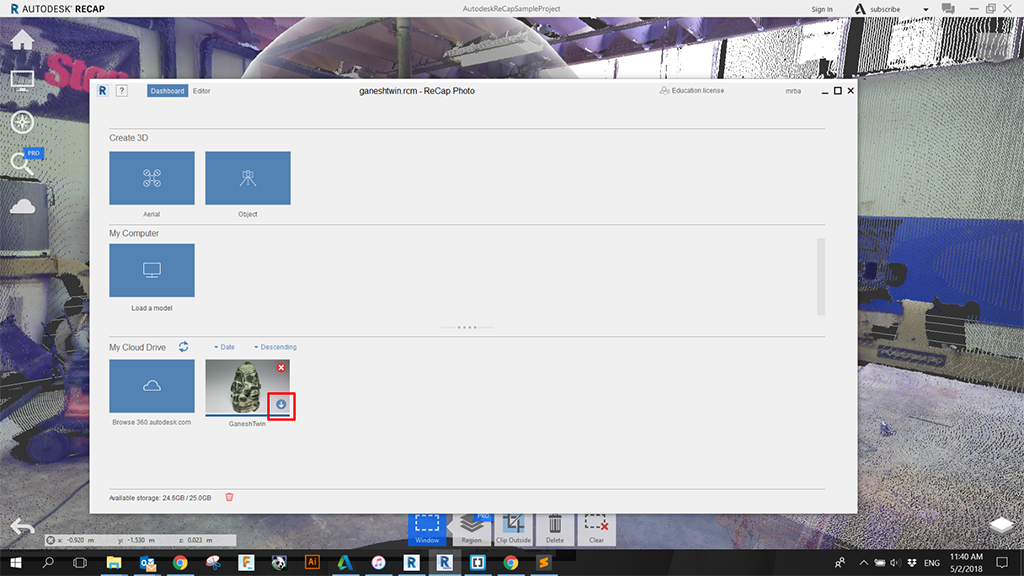
A link to your downloaded file will now be added. Double click it to open it in the editor
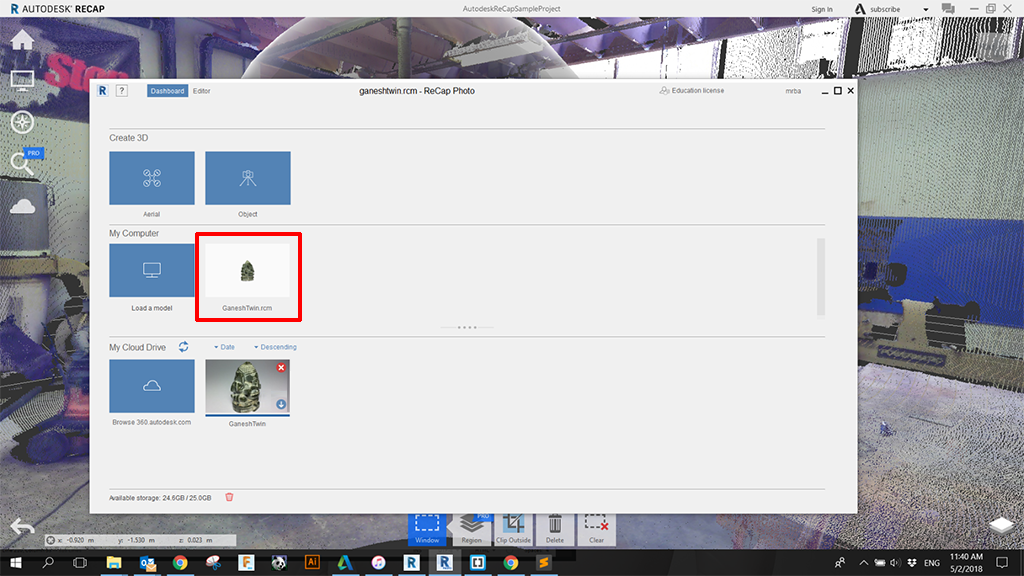
Edit inside ReCap:
Open your downloaded .rcm file.
(or dobble click your file in the dashboard)
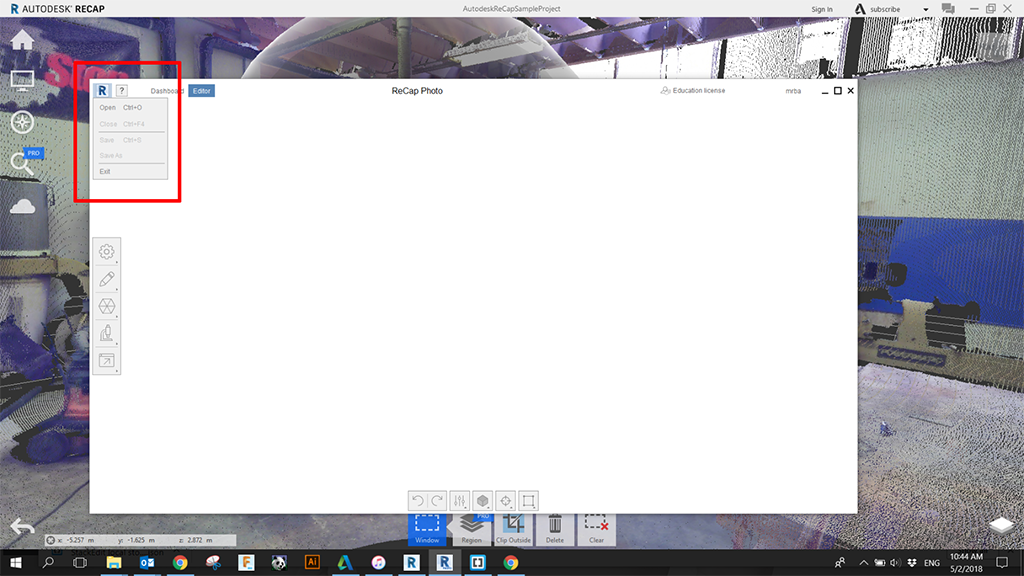
Edit your file to your hearts content and then export.
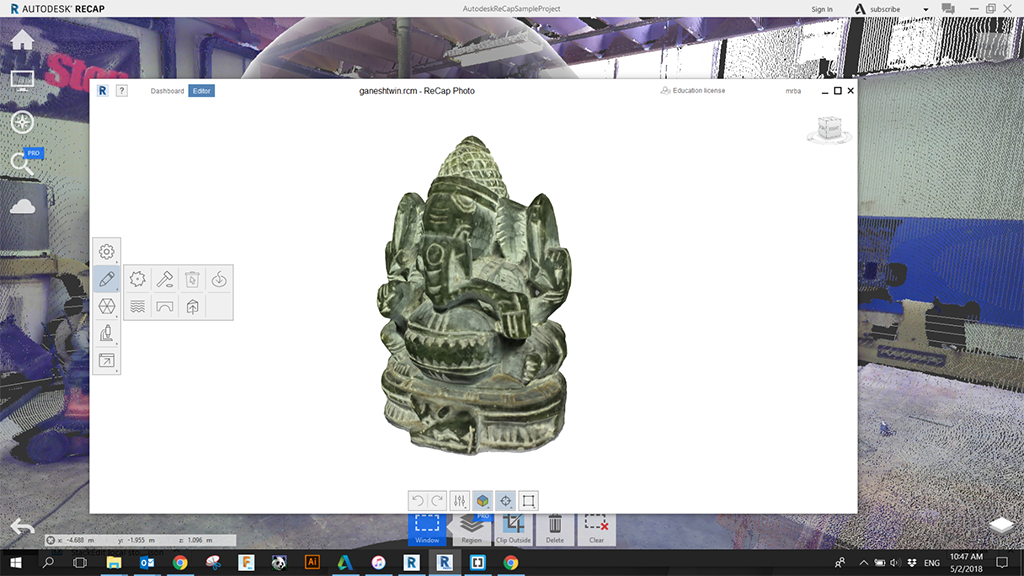
Here is a video explaining the editing capabilities of RECAP:
Other Editing Options:
As this is a normal Mesh file it is ready for 3D Print or you can modify it with all the normal mesh editng software You can also edit your mesh in like:
- Autodesk Maya.
- Autodesk 3DS Max.
- Autodesk Mudbox.
- Meshmixer.
- Sculptris.
- Zbrush.
- Blender.
If you want to turn it to a solid model for edit it in a CAD software like Solidworks or Fusion 360 Check out the vidoe below:
Simple Setup
Here is my super simple setup with a paper back drop, front facing soft light.
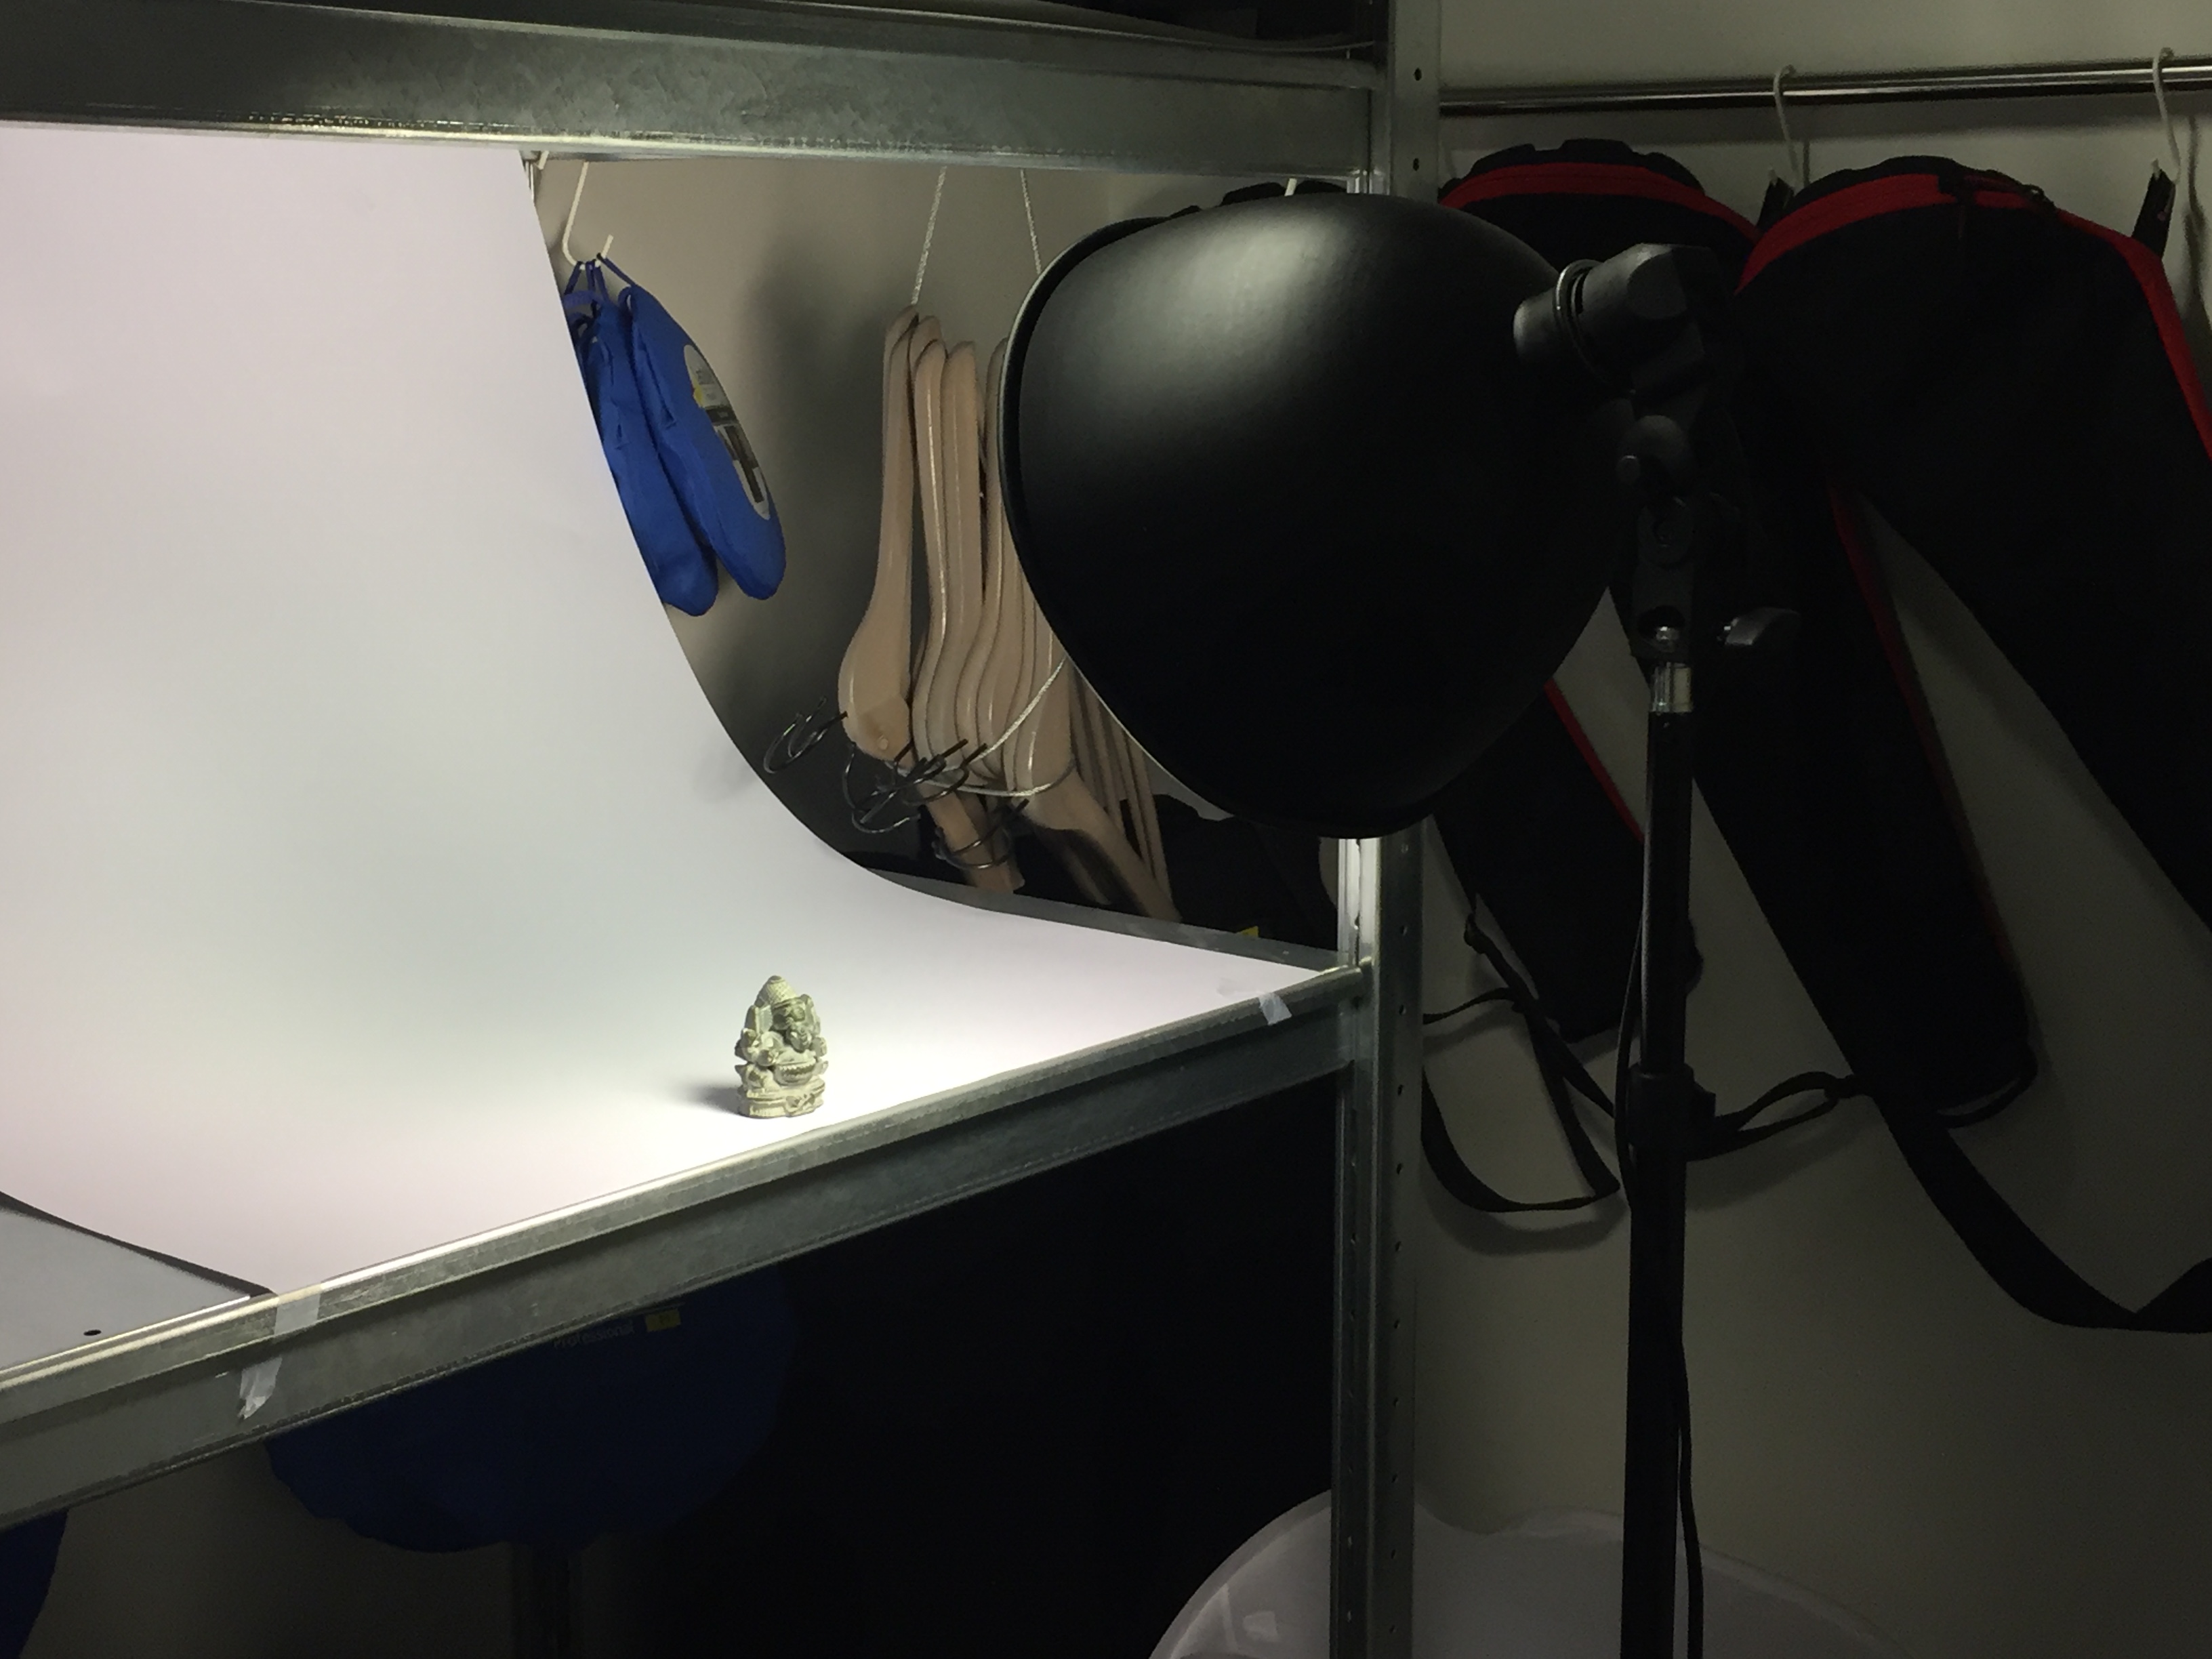
This is the result:
Camera: iPhone 6,
Images: 90,
Manually rotaing the object