Printing and Routing Vinyl Stickers on the Roland VersaSTUDIO BN-20
The BN-20 is capable of printing high-quality full color images on vinyl stickers and cutting out as custom shapes.
Laying out your sticker designs
To get started, open Adobe Illustrator and make a new file: File – New… and hit OK.
Click-and-drag your images into the window or open them via File – Open. (You can draw your stickers in Illustrator as well if you’re not working with images).
Arrange and resize your stickers.
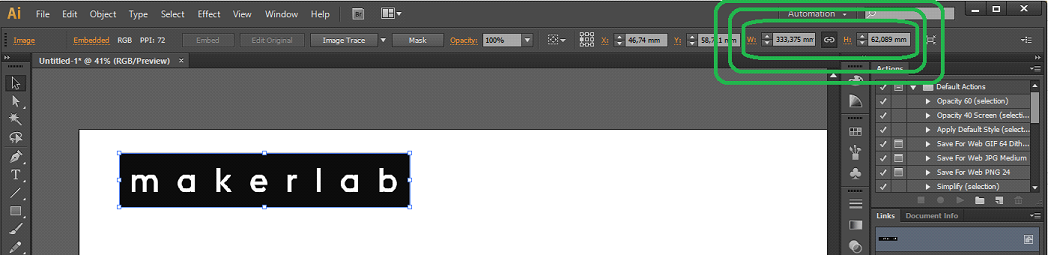
Click on your sticker - the “Transform” window at the top shows the dimensions. You can type these manually or scale the sticker by dragging the corners. (If this window isn’t there, select Window – Transform from the top menu)
Check the maximum width of the roll of material that’s in the printer - you don’t want to put images outside the printing area.
Cutting out the Sticker
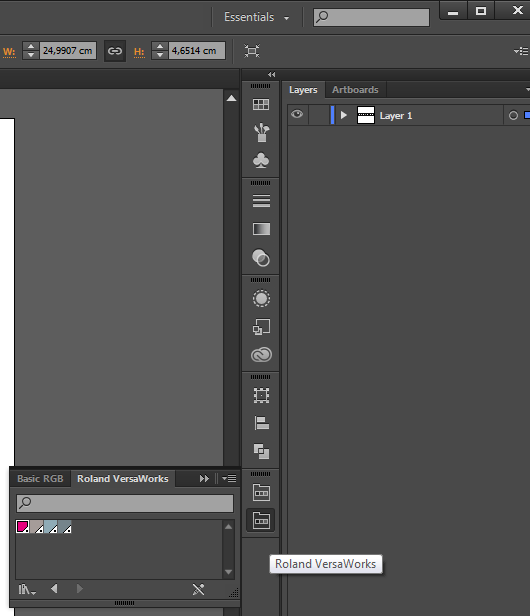
Our sticker printer has the special functions of printing metallic silver ink and cutting out custom shapes. You can set these functions in the “Swatches” window.
Note:
If this icon isn’t in the sidebar, you can bring it up by clicking Window - Swatches
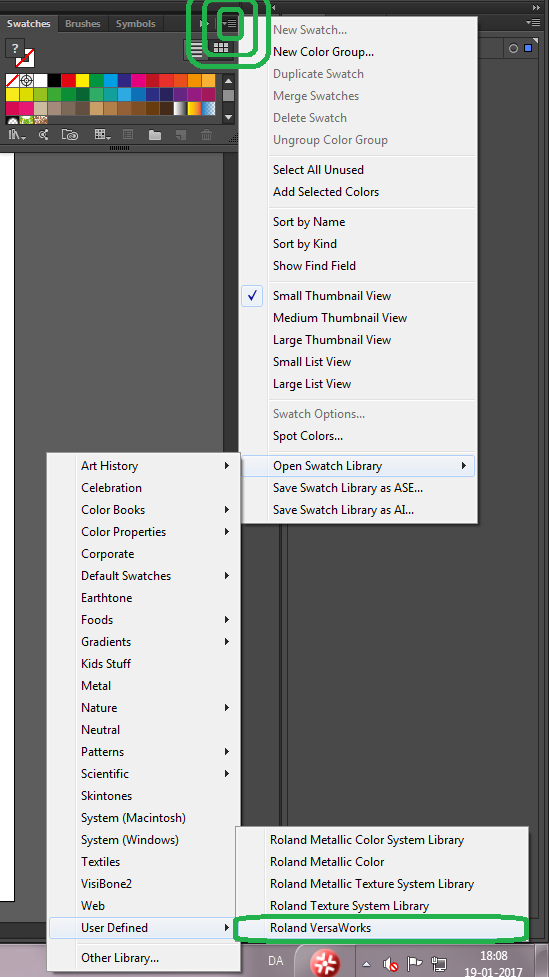
In the top-right corner of the Swatches window, click Options - Open Swatch Library - User Defined - Roland VersaWorks
Draw a box or shape around where you want the sticker to be cut out. Select it, then click the first icon – “CutContour” .
The cutting perimeter should turn pink. This color won’t show up on your sticker. (You can move it behind the sticker by right clicking and selecting Arrange – Send to Back if you’d like.)
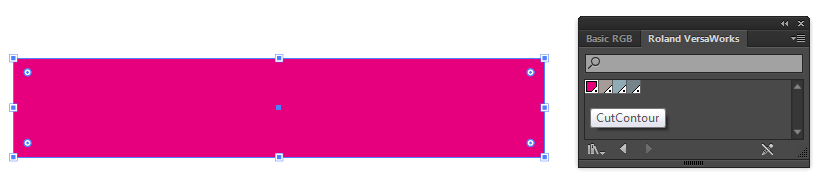
I drew a rectangle around the edges of my image. I didn’t need a border.
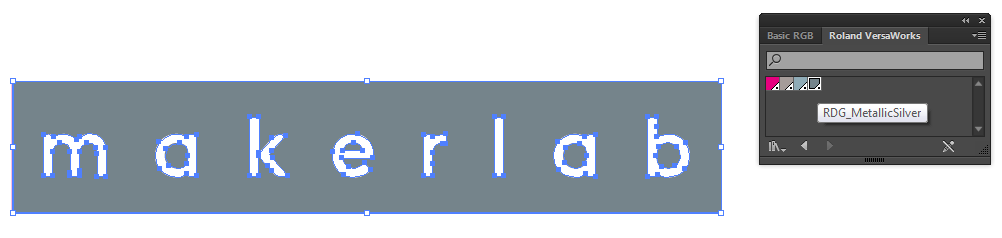
Metallic ink
If you’d like something printed in metallic ink, it works on the same principle. Select any shape and apply the RDG_MetallicSilver swatch to it. It will turn grey.
Note:
If you change your mind about something that has a swatch applied to it, you need to manually select another color from the swatch menu. For example, if you decide to remove the cutting command from , instead of using the color menu on the left to select a color, open Window - Swatches and pick a new color there.
Once your file is looking good, we need to save it as an .EPS – File – Save As… and Save as Type “Illustrator EPS”.
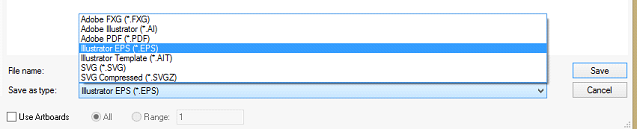
Click OK - the default settings are fine.
Printing
Open VersaWorks Dual Software from the desktop or bottom dock.

From the file menu, select “Add Job to Queue A” (or B - doesn’t really matter).
Click the “Settings” icon in the bottom left corner.
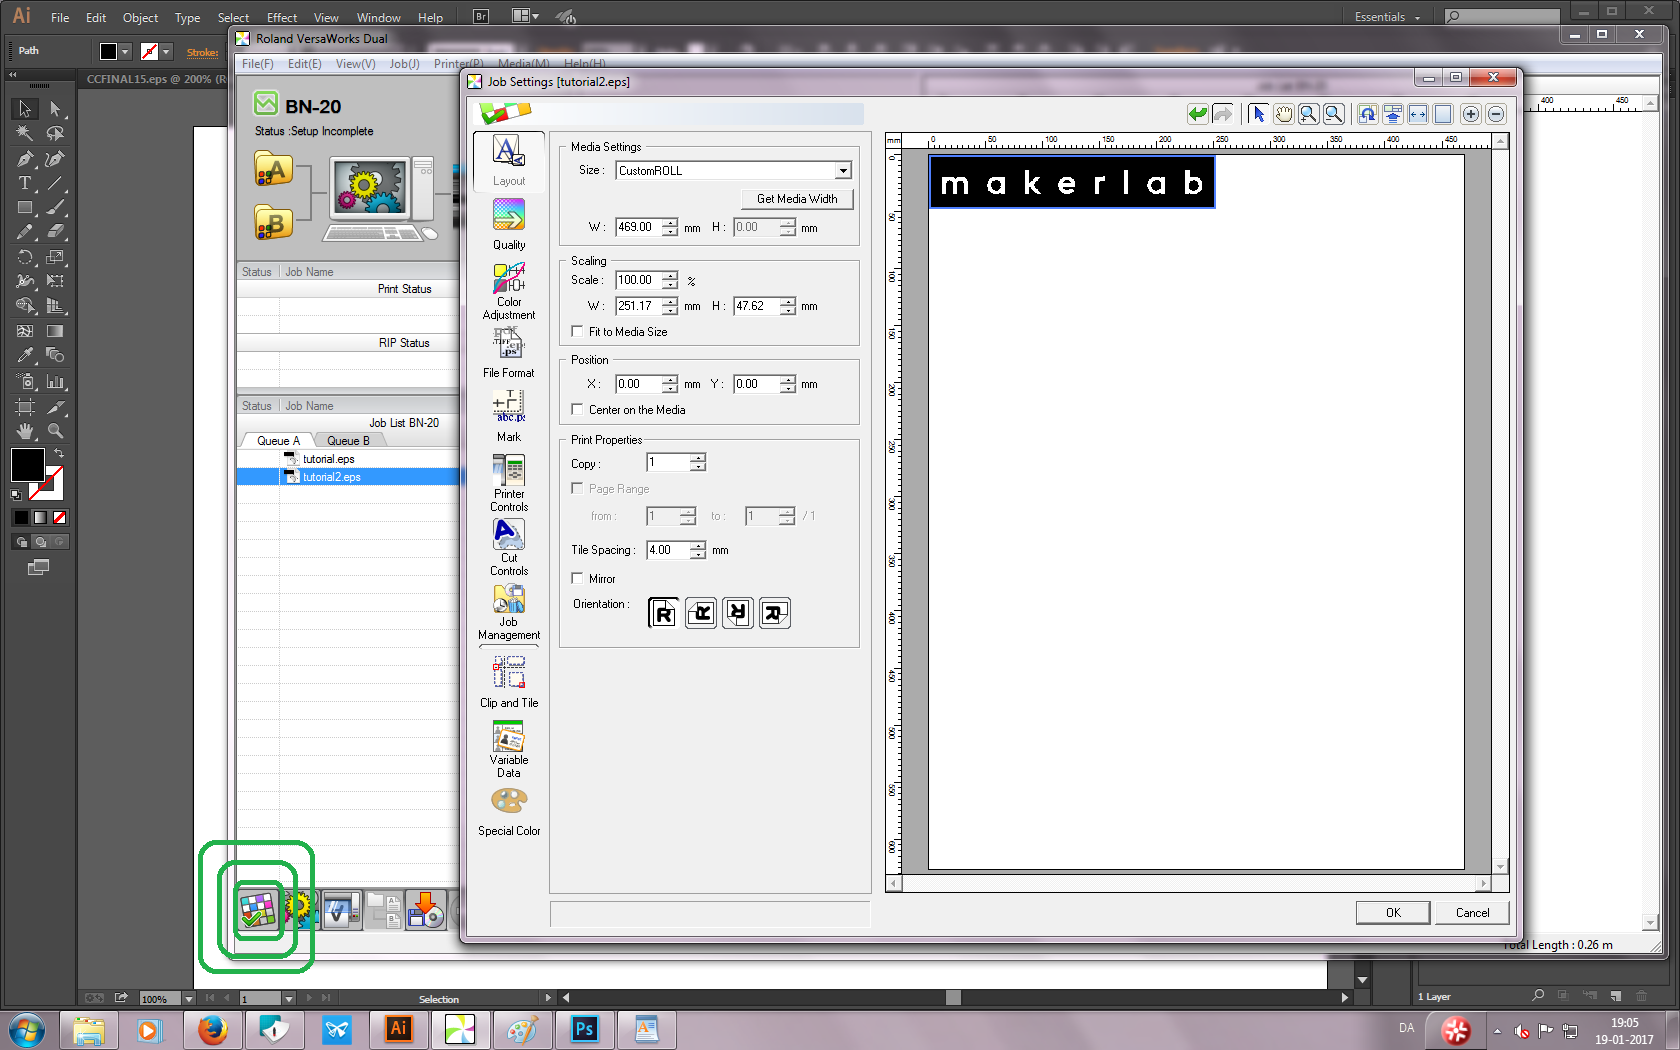
Under “Layout” we can calculate the material width for our vinyl roll. Make sure the material is sitting between the two metal “feet” and then click “Get Media Width”
Checking that material is sitting correctly between metal feet:
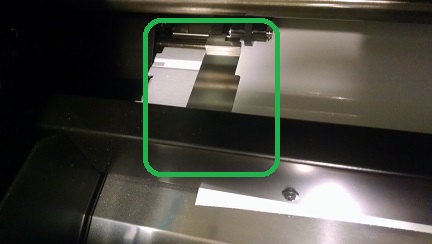
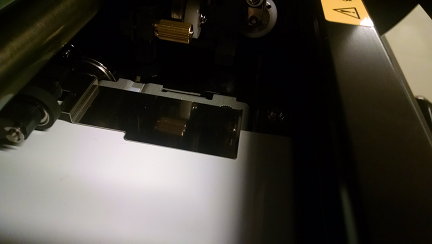
You can set the location of the stickers in the layout menu if it doesn’t look right.
The top left of the preview window (coordinates 0,0) will be the right-side of the printing bed, printing top to bottom.
Moving to the “Quality” tab:
I’m using the standard vinyl.
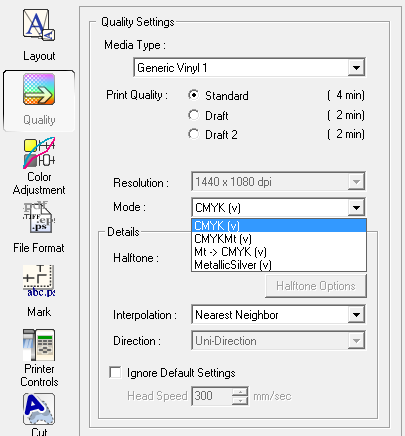
Under Mode you can select the order in which the inks are printed -
- CMYK is printing the standard colors only.
- CMYKMt is the colors and the metallic ink at the same time.
- Mt -> CMYK is metallic ink first, then colors.
- MetallicSilver is just the metallic ink.
These options can be important if you need the metallic ink to dry first, for example, or if you’re doing more complicated layer work.
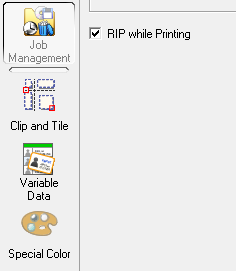
Under “Job Management”, select “RIP while Printing” to save time.
Note:
RIP (“Raster Image Processing”) is the process of translating the image file into code that the printer can use. This can be done all at once before you print, which the the default, or while it’s printing.
In the main window, click the name of your job in the queue to the left.
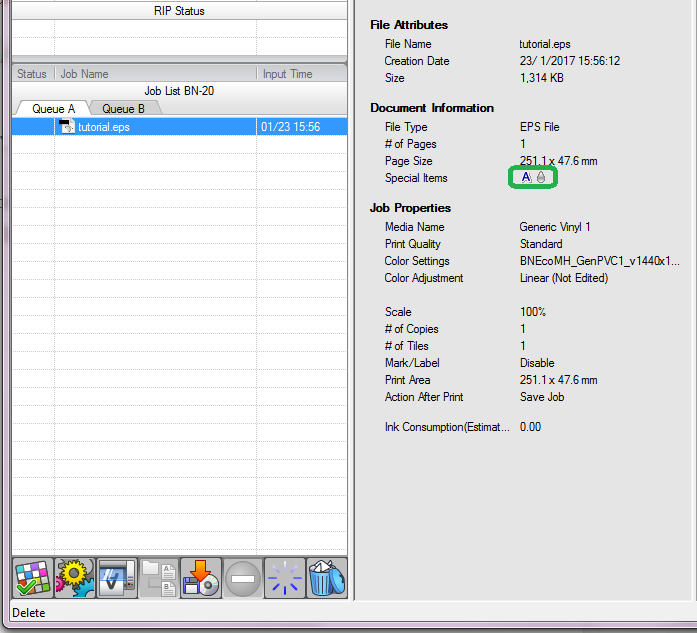
Under “Special Items”, you can double-check that the job is programmed correctly. If you’re using the cutting tool to cut out your sticker, the ‘A’ icon will be here. If you’re using metallic ink, the metal drop icon will be here.
Note:
If these special items are supposed to be here but you can’t see the icons, double-check that the correct swatch was selected in Illustrator (click the shapes that are supposed to be cut / be metallic and select the VersaWorks swatch again.)
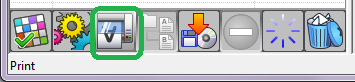
Once everything is set up, click the “Print” icon and you’re good to go.